


This guide to DIY shoe rack projects and practical small space shoe storage provides smart, achievable solutions for conquering footwear clutter in any home. Finding effective homemade shoe organizer options is essential for maintaining a tidy entryway or closet, especially when working with limited space or a tight budget. These budget shoe cabinet ideas move beyond expensive retail solutions, offering creative and functional entryway storage that you can implement yourself.
This definitive resource provides expert insights, step-by-step concepts, and professional tips. It covers everything from simple DIY builds to clever repurposing hacks, empowering you to create stylish and efficient shoe storage tailored perfectly to your needs.
What is the Core Principle of DIY and Practical Shoe Storage?
The core principle is resourcefulness. It involves utilizing readily available materials, simple construction techniques, and clever spatial thinking to create effective shoe storage solutions that are both affordable and customized to a specific space. This approach prioritizes function and creativity over high cost, proving that an organized home is achievable on any budget.
This philosophy embraces the satisfaction of creating something functional with your own hands. It also encourages looking at everyday objects and spaces with fresh eyes, seeing potential storage opportunities where others see limitations. Whether it’s repurposing an old ladder or building a simple rack from scratch, the goal is a practical, cost-effective solution that effectively tackles shoe clutter. The rise of the DIY movement reflects a broader desire for personalization and sustainable living.
Why is Decluttering the Unskippable First Step?
Decluttering your shoe collection is the unskippable first step before implementing any storage solution, DIY or otherwise. You cannot effectively organize items you do not need or use. Reducing the sheer volume of shoes is the single most impactful action for achieving a clutter-free space, especially in small homes.
Attempting to organize an excessive number of shoes inevitably leads to frustration and overflowing storage. A smaller, curated collection is far easier to manage and keep tidy. This initial purge clarifies your actual storage needs and makes any subsequent solution, whether built or bought, much more effective. This principle is foundational to how to organize shoes in small spaces without clutter.
How to Approach the Shoe Decluttering Process?
Start by gathering all your shoes in one place. Go through each pair and honestly assess:
- When was the last time you wore them? (Consider the one-year rule).
- Do they fit comfortably and are they in good repair?
- Do they match your current style and lifestyle?
- Do you have multiples of the same type? Be ruthless. Keep only the pairs you truly love and wear regularly.
What to Do with Unwanted Shoes?
Donate shoes in good condition to charity. Sell valuable pairs online or through consignment. Recycle unwearable shoes through specialized programs if available. Discard only those that are beyond repair or donation. Removing unwanted shoes promptly prevents them from creeping back into your storage spaces.
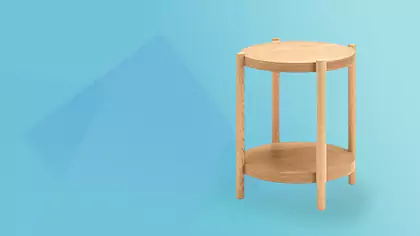
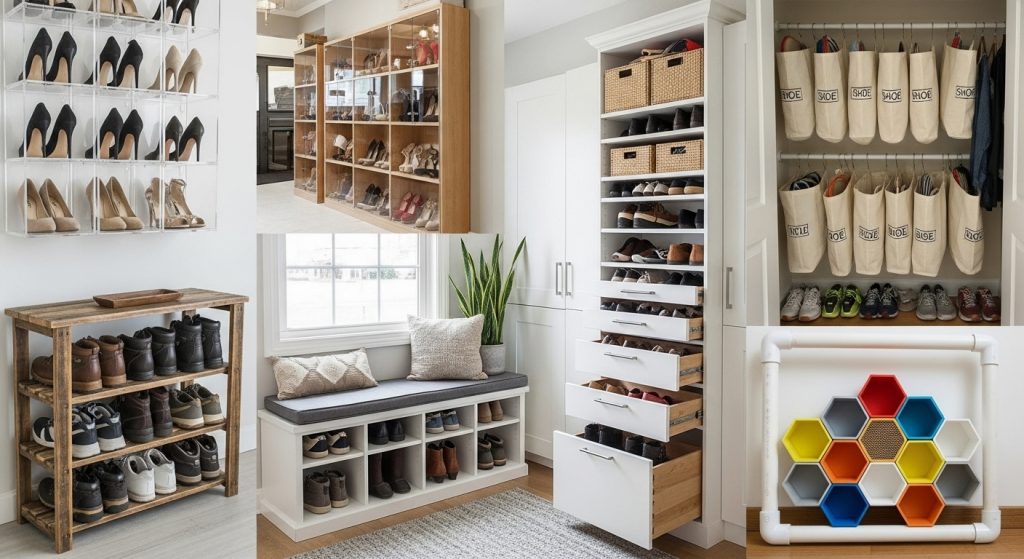
What Are Simple DIY Shoe Rack Ideas Using Wood?
Building a simple DIY shoe rack from wood is a classic and highly effective project. Wood is a versatile, affordable, and readily available material. These projects often require only basic tools and woodworking skills, making them accessible even for beginners.
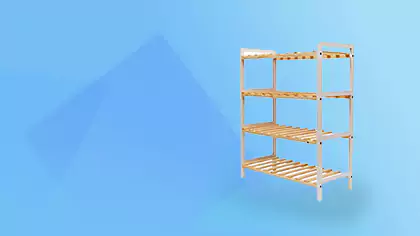
How to Build a Basic Tiered Wooden Shoe Rack?
A basic tiered shoe rack provides simple, open storage and is easy to construct.
- Materials: Pine boards (e.g., 1×10 or 1×12), wood screws, sandpaper, wood finish (optional).
- Basic Steps:
- Cut two side pieces to the desired height.
- Cut several shelf pieces to the desired width.
- Sand all pieces smooth.
- Assemble the rack by screwing the shelves horizontally between the two side pieces, ensuring they are level. Space the shelves appropriately for different shoe heights (taller space at the bottom for boots).
- Apply a wood finish (stain, paint, or sealant) if desired. This simple design can be customized in size to fit perfectly in a closet or entryway.
How Can You Create a Floating Shoe Shelf System?
Floating shelves offer a minimalist, wall-mounted storage solution that keeps the floor clear.
- Materials: Wooden planks (reclaimed wood works well), heavy-duty floating shelf brackets, level, drill, wall anchors (if needed).
- Basic Steps:
- Cut your wood planks to the desired length and finish them (sand, stain, seal).
- Locate wall studs using a stud finder for the most secure mounting.
- Install the floating shelf brackets securely into the studs or using appropriate heavy-duty drywall anchors. Use a level to ensure they are straight.
- Slide the prepared wooden shelves onto the brackets. Multiple shelves can be installed vertically to create a stylish, space-saving shoe display. This is a key concept in wall-mounted shoe cabinet ideas to save floor space.
What is the Concept of a Ladder Shoe Rack?
A ladder shoe rack is a simple, stylish, and often portable solution. It involves leaning a small wooden ladder against the wall. The rungs of the ladder serve as angled shelves for shoes.
- DIY Option: Build a simple ladder from 1×3 or 1×4 boards. Cut two long side pieces and several shorter rung pieces. Assemble with screws, angling the rungs slightly upward.
- Repurposed Option: Use an old, small wooden step ladder. Clean it up, perhaps give it a fresh coat of paint or sealant. This design has a minimal footprint and adds a touch of rustic charm. Ensure the base is stable or secure the top to the wall for safety.
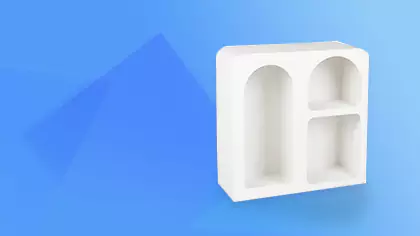
What Are Creative Repurposing Ideas for Shoe Storage?
Repurposing existing items into shoe storage is a sustainable, budget-friendly, and creative approach. Looking at old furniture or common household items with fresh eyes can reveal ingenious homemade shoe organizer possibilities. Our guide on repurposing furniture into shoe cabinets explores this theme.
How Can Old Wooden Crates Be Used?
Old wooden crates (like wine crates or apple crates) are incredibly versatile for DIY shoe storage.
- Stacked Cubbies: Simply stack crates horizontally and vertically, securing them together with screws or cable ties. This creates rustic, modular cubbies perfect for shoes.
- Wall-Mounted Boxes: Mount individual crates directly to the wall to create floating shoe boxes.
- Under-Bench Storage: Slide crates under an entryway bench for concealed storage. Crates can be left raw, stained, or painted to match your decor.
How to Transform an Old Bookcase into Shoe Storage?
An old, shallow bookcase can easily be transformed into an effective shoe cabinet.
- Adjust Shelves: Adjust the shelf heights to accommodate different types of shoes. Add extra shelves if needed.
- Add Doors (Optional): Attach simple doors (made from plywood or fabric panels) to conceal the shoes for a cleaner look.
- Paint or Refinish: Give the bookcase a fresh coat of paint to match your entryway decor. This is an excellent way to upcycle a piece of furniture you might already own.
Can You Repurpose PVC Pipes or Tubes?
Large diameter PVC pipes or sturdy cardboard mailing tubes can be cut into short sections and arranged to create individual shoe cubbies.
- Cut Sections: Cut pipes or tubes into lengths slightly longer than a standard shoe (e.g., 12-14 inches).
- Stack and Secure: Stack the sections horizontally and vertically in a grid pattern. Secure them together using a strong adhesive suitable for the material (PVC cement or construction adhesive).
- Frame (Optional): Build a simple wooden frame around the stacked tubes for a more finished look. This creates a very modern, industrial-style shoe organizer. Ensure all cut edges are sanded smooth.
What About Using Wall-Mounted Spice Racks?
Shallow wall-mounted spice racks (the kind with a small front rail) can be surprisingly effective for storing children’s shoes or slim adult shoes like flats and sandals. Mount several racks vertically on a wall or the back of a door. Shoes can be tucked neatly behind the front rail. This is a great solution for utilizing narrow wall spaces.
What Are Smart Organizational Hacks for Any Shoe Storage?
Regardless of the type of storage solution you use (DIY or purchased), implementing smart organizational hacks within that space is key to maximizing its efficiency and maintaining order. These tips help you fit more shoes neatly into a limited area.
How Do Shoe Stackers Instantly Double Shelf Space?
Shoe stackers are inexpensive plastic devices that allow you to store one shoe directly on top of the other in the space normally occupied by just one. They effectively double the capacity of flat shelves or cubbies, especially for sneakers, flats, and sandals. They are one of the simplest and most impactful small space shoe storage hacks available.
Why is the “Alternate Heel-Toe” Method Effective?
When placing shoes side-by-side on a shelf, simply alternating the direction of each pair (one pair toe-out, the next pair heel-out) can save a significant amount of space. The wider heel area of one pair fits neatly beside the narrower toe area of the next. This allows you to fit more pairs onto the width of the shelf.
How Can Shelf Dividers Create Order?
On longer shelves, shoes tend to slide around and become jumbled. Simple shelf dividers (either tension-based or clip-on) create designated “lanes” for each pair. This keeps shoes neatly aligned in rows, prevents them from toppling over, and makes it easier to see and access your collection. They bring instant order to open shelving.
What is the Benefit of Using Clear Shoe Boxes?
Clear shoe boxes offer several organizational advantages, especially for shoes stored in closets or on deeper shelves.
- Stackability: They allow for efficient vertical stacking.
- Visibility: You can instantly identify the pair inside without opening the box.
- Protection: They keep shoes free from dust, crushing, and pests. While they take up slightly more space than loose shoes, the organization and protection they provide are often worth it, especially for less frequently worn or valuable pairs. The market for clear storage containers reflects their popularity.
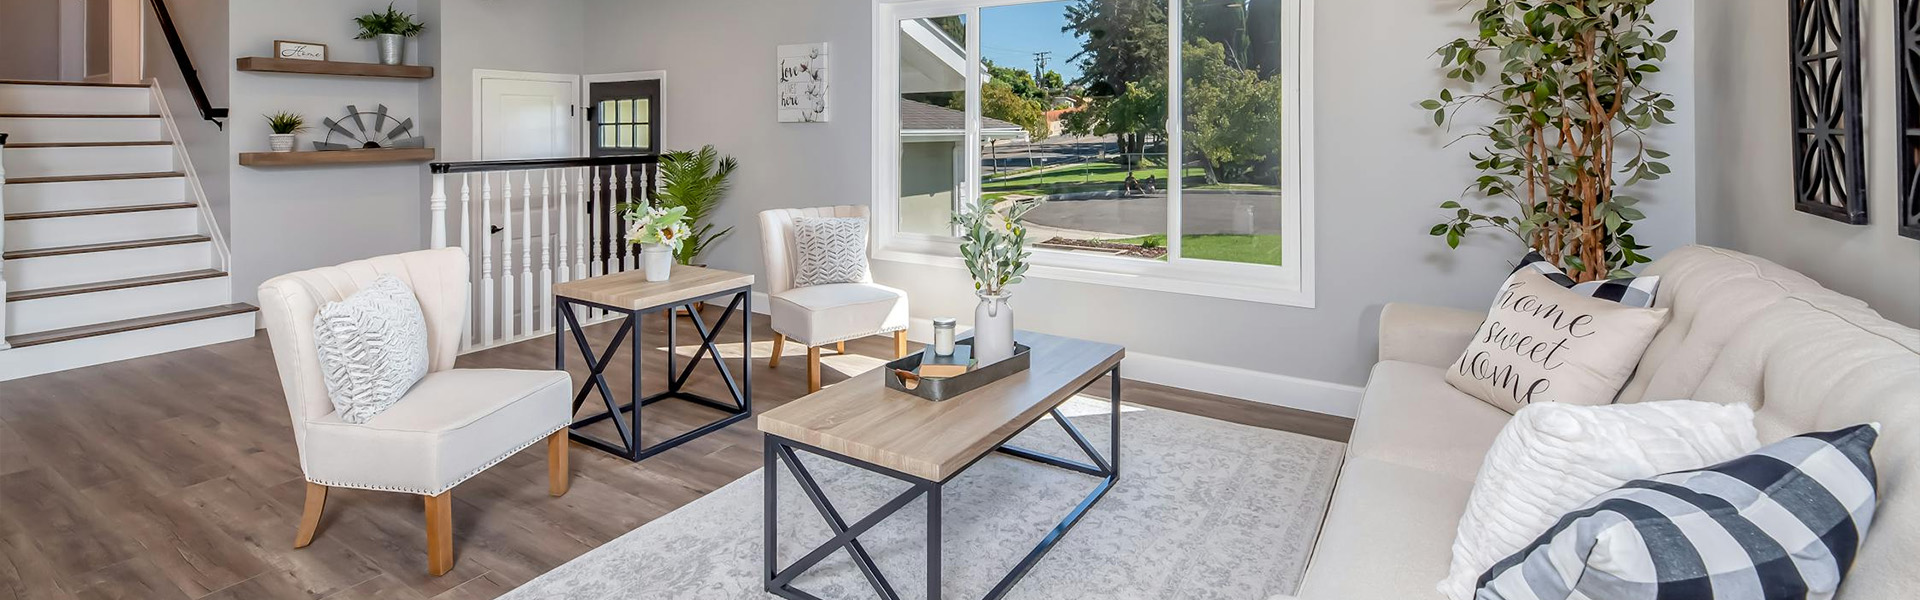
How to Integrate DIY Shoe Storage Stylishly?
Integrating your DIY shoe rack or homemade shoe organizer stylishly into your home involves making it feel like an intentional part of your decor, not just a purely utilitarian object. This can be achieved through finishing choices, thoughtful placement, and combining it with other decorative elements.
How Can Paint and Stain Elevate a DIY Piece?
Applying a high-quality paint or stain is the easiest way to elevate a simple DIY piece. Choose a color that complements your existing decor. A crisp white paint feels fresh and modern. A dark stain can add sophistication. A fun accent color can add personality. Ensure the finish is applied smoothly and evenly for a professional look. Even simple pine boards can look high-end with the right finish.
Why Consider Adding Hardware?
Adding stylish hardware can significantly upgrade the look of a DIY piece, especially if it includes doors or drawers. Simple, modern knobs or pulls in a finish like matte black or brushed brass can make a basic cabinet look much more expensive. This small detail has a surprisingly large impact on the overall aesthetic.
How to Combine Storage with Other Entryway Functions?
Combine your DIY shoe storage with other essential entryway functions for a cohesive and practical setup. Place a simple wooden shoe rack beneath a wall-mounted coat rack with a shelf above it. Build a simple bench with DIY crate storage underneath. This integration creates a functional zone and makes the DIY element feel more intentional. This aligns with the principles of multifunctional entryway furniture ideas with storage.
How to Style Around Your DIY Shoe Storage?
Style the area around your DIY shoe storage to help it blend in. Place a runner rug in front of it. Hang a mirror or artwork on the wall above it. Add a small plant nearby. By incorporating the DIY piece into a larger, thoughtfully styled vignette, you make it feel like a deliberate and attractive part of your home’s design.
What Are Crucial Safety Considerations for DIY Projects?
Safety must be the top priority when undertaking any DIY project, especially those involving cutting wood or handling tools. Always follow safety guidelines to prevent injury.
Always wear appropriate safety gear, including safety glasses, hearing protection (when using power tools), and sturdy gloves. Ensure your workspace is well-lit and free of clutter. Read and follow the manufacturer’s instructions for all power tools. Secure wood properly before cutting. Sand all cut edges smooth to prevent splinters. If painting or finishing, work in a well-ventilated area and follow the product’s safety precautions. Our guide on safety tips for glass cutting and grinding emphasizes the importance of a safety-first mindset, which applies equally to woodworking.
Conclusion
These DIY shoe rack concepts and practical small space shoe storage strategies demonstrate that an organized and stylish entryway is achievable for everyone, regardless of space constraints or budget. By embracing resourcefulness, maximizing vertical space, utilizing clever organizational hacks, and prioritizing a disciplined decluttering habit, you can create effective and attractive homemade shoe organizer solutions. These budget shoe cabinet ideas and functional entryway storage tips provide the tools you need to conquer shoe clutter and craft a welcoming, serene, and beautifully organized home. For more inspiration on hidden storage, explore our guide to clever hidden shoe storage ideas for apartments.


